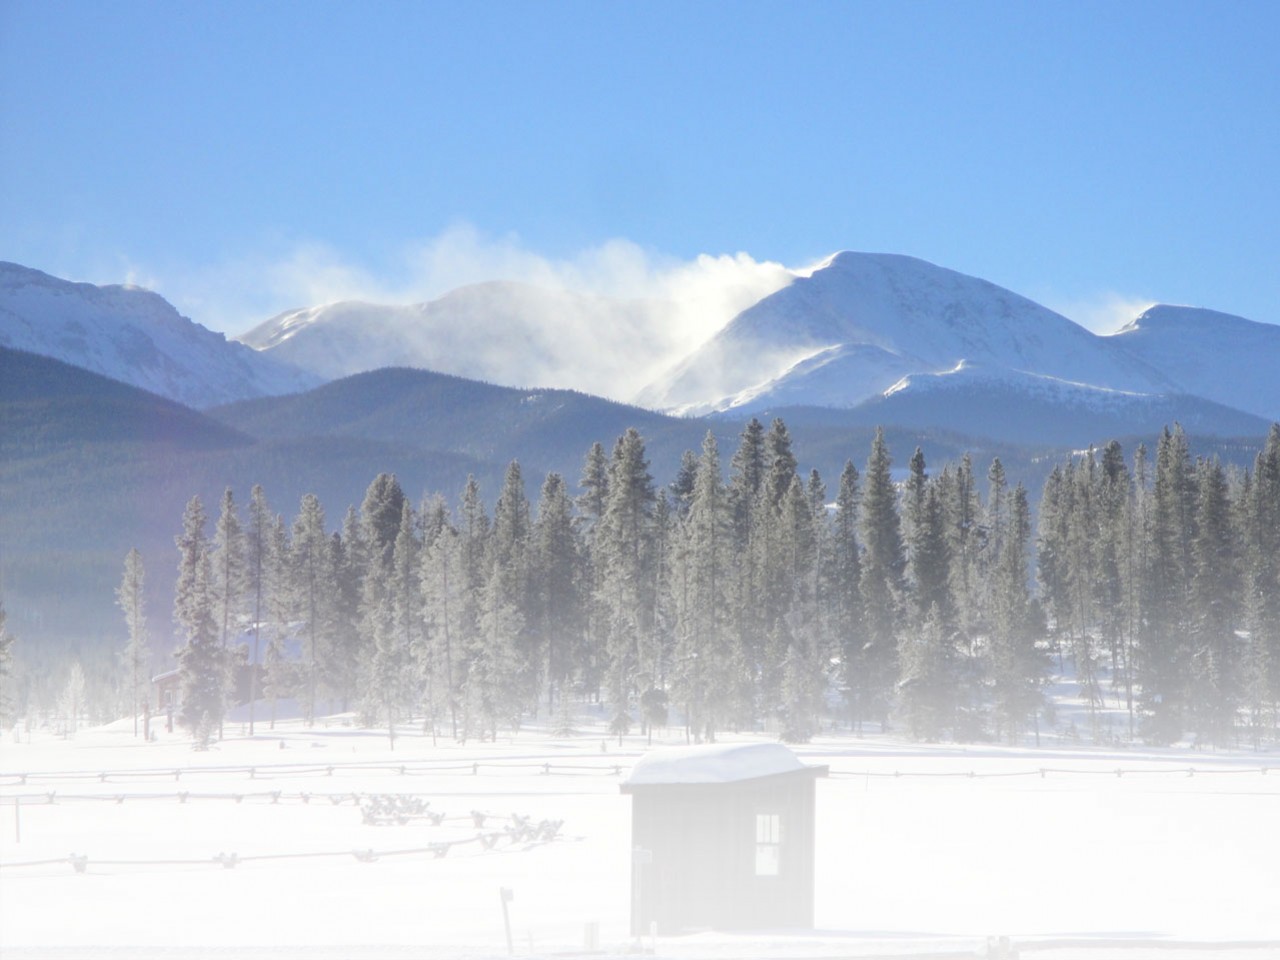
Those who love the outdoors and enjoy tramping through the snow should consider using snowshoes. Snowshoes help spread the body weight across a larger surface area, ensuring that you do not sink into the soft snow, making it much easier for you to walk on the snow. While you can purchase snowshoes, it is also a marvelous idea to make your own snowshoes.
You can possibly save money and test your organizational and attention to detail abilities,  simultaneously.
Materials Needed
In order to make your own snowshoes you need to first collect all the materials that are required to turn this idea into reality. To make your own snowshoe using the traditional material that the Native Americans used many centuries ago you need some Ash wood split to make the bows, scrap wood that you will use to make the jig form for shaping the bows of the shoes, material for making rawhide or rawhide itself, and newspaper or other large sheet of paper for cutting the pattern. Once you have all the materials collected, you are all set to make the snowshoe.
Mark the Pattern
First, you need to fold the newspaper diagonally across. The diagonal will mark the center of the snowshoe base. However, mark the pattern when the paper is folded so that you obtain a symmetrical snowshoe. Now decide on the length of the snowshoe. This can typically be around 30 inches. Now identify the point that is three-eighths of the length or around 12 inches on the diagonal. This will be the widest part of the shoe. This is the toe or leading edge and the curve should be rounded and taper off toward the heel.
Make the Form
Next you need to make the form that will help you bend the Ash wood to the desired shape. Live wood can be bent easily without breaking and dried so that it holds its shape. For this nail two ¾ inch forms on a piece of plywood. Also nail 12 wedges three-fourths of an inch away from the forms.
 Select the Ash Wood, Fit the Frame
When looking for Ash wood, ensure that it is smooth and knot free. The wood should be at least seven feet long and three-fourths of an inch thick. Make the sides smooth using a drawknife. Now locate the inner face of the wood and ensure that it faces inside. Wedge the strip of wood between the wedges you have nailed on the two forms and allow the wood to dry for a few weeks. If you are unable to bend the staves easily, steam them a bit.
Insert Crossbars
In order to make the snowshoes sturdy you need to insert crossbars that are slightly more than an inch wide. Make four of them and insert them within the frame so that the shape of the frame is retained. For this you need to drill holes in the frame and insert the ends of the crossbars into these holes. Once this is done, you can smooth the frame and crossbars by sanding them.
Lacing and Webbing
Depending on your preferences you can now use rawhide lacing or the more modern neoprene webbing on the snowshoe. While strict traditionalists might prefer rawhide that is sturdy, you need to take care when lacing it to create a cane chair or diamond pattern. However, neoprene webbing lasts three times as long as rawhide and is easier to install.
Rawhide
If you choose to use rawhide on your snowshoe, you need to obtain green, hair-free rawhide strips and drill small holes around the frame. Now you need to weave the rawhide in a diamond pattern by stretching it across the frame points. Though time-consuming, the finished product will help provide a stellar snowshoe that will keep you floating even on powdered snow.
Rawhide will absorb moisture when used on snow, but dry up later and tighten to provide a fantastic cushioning effect as you walk on snow through the woods or any outdoor terrain.
Neoprene
Modern, synthetic neoprene can withstand the moisture and cold conditions that exposure to snow brings and ensure that your snowshoe is maintenance free for years. Moreover, you can complete making the snowshoe in a shorter time since there is no intricate lacing and threading involved. All you need to do is fix the neoprene webbing to the frame and you are all set to go walking through the woods, enjoying the serene beauty and quiet of the winter.
Straps
Whether you use rawhide or neoprene, you also need to install sturdy straps to the shoes so that you can attach them firmly to your feet.

![[Archive] Snowshoe Magazine - The snowshoeing experience for snowshoers around the world: snowshoe racing, snowshoes, gear reviews, events, recreation, first-timers.](https://archive.snowshoemag.com/wp-content/themes/snowshoemag2011/images/snowshoemagazine_logo.png)
Very informative. Thank you
Very informative thanks
Very helpful for me
I need more information on the wood selection process if you do not have access to logs and the actual splitting process. I cannot find any of that anywhere, if any one has relevant information that would be great thanks.